Wednesday, January 30, 2008

Ok, so I may have gone a teensy bit overboard...

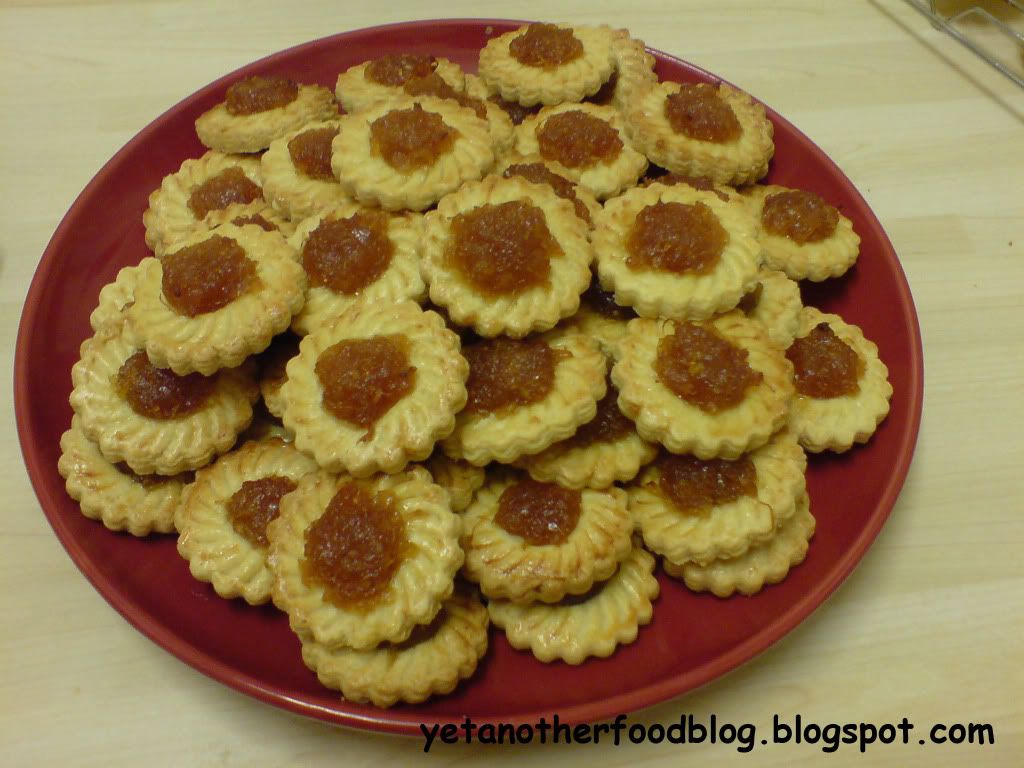
... with the Pineapple Tarts.
They're everywhere!

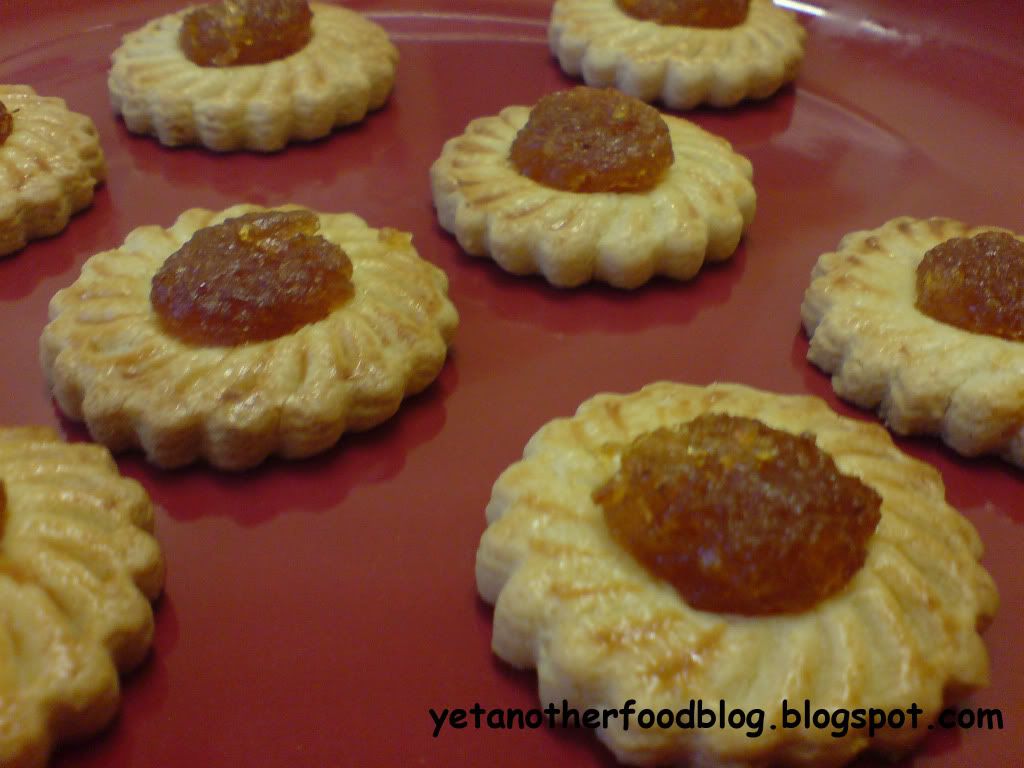
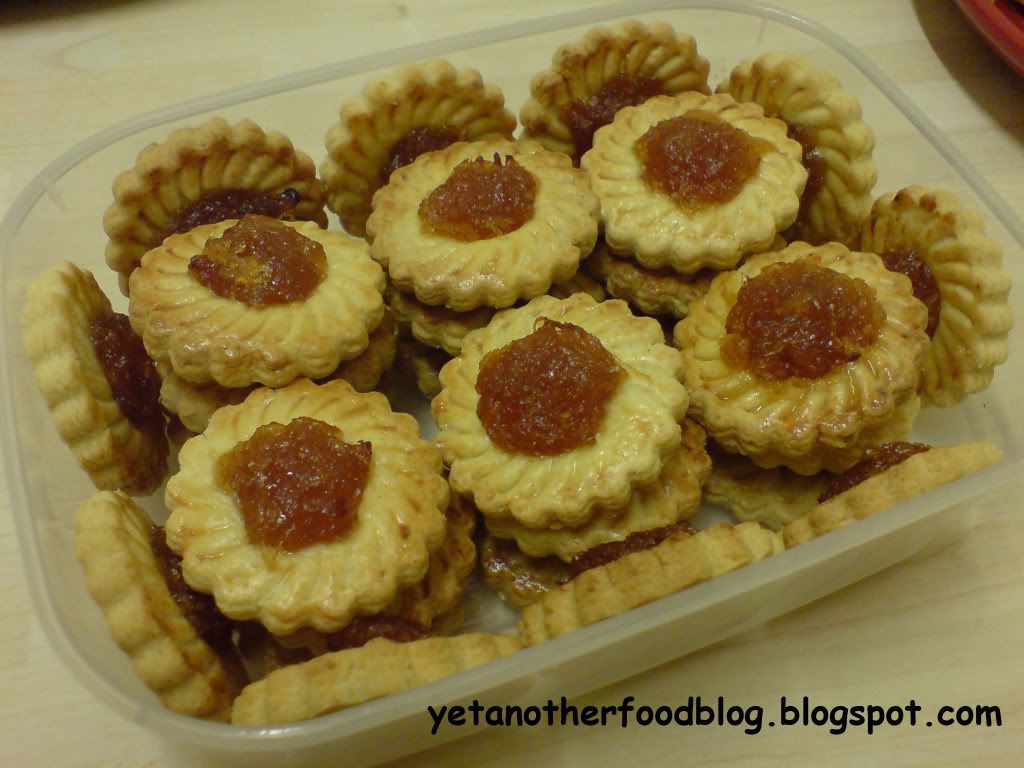
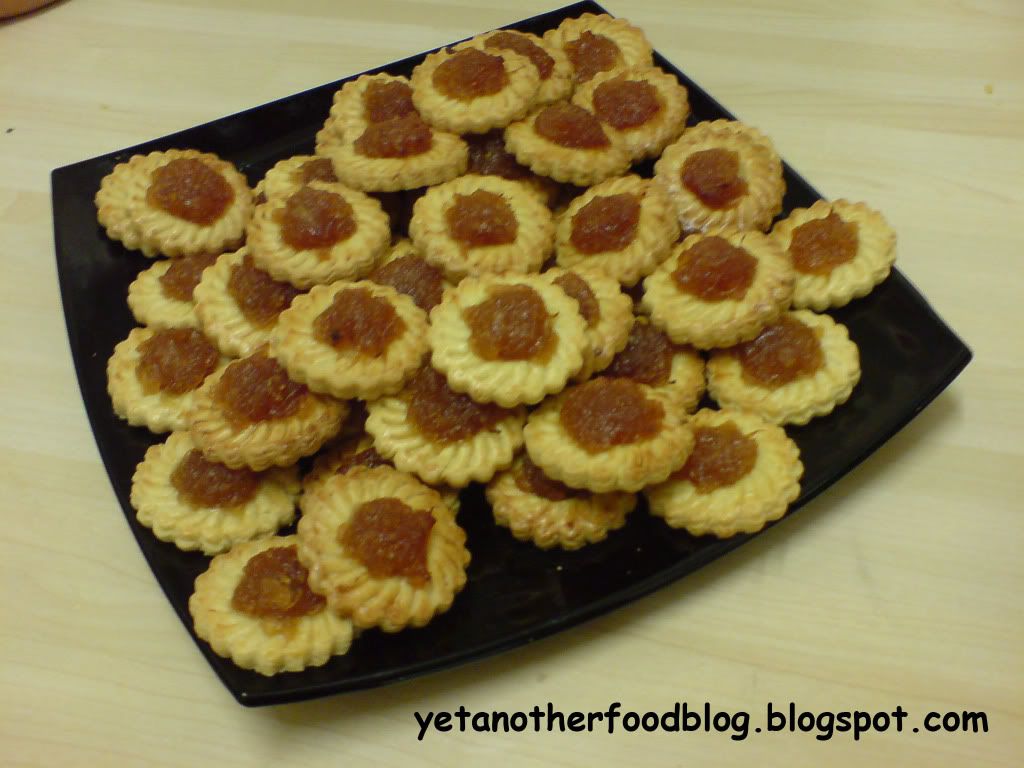
Pineapple Tarts.


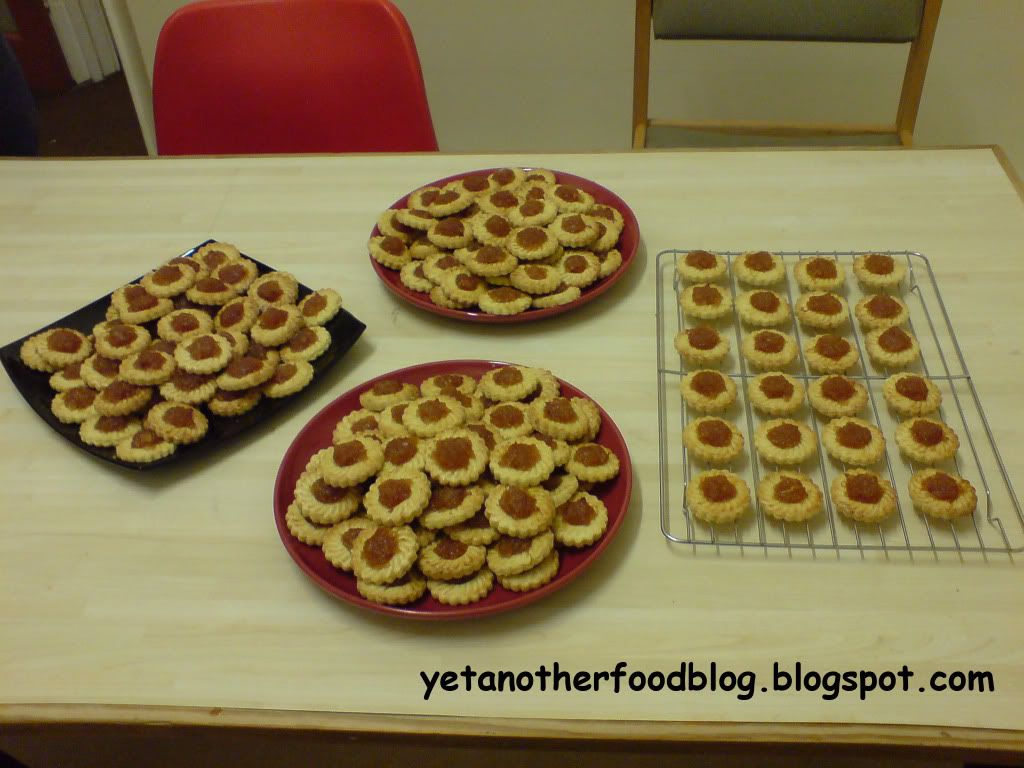
Pineapple Tarts on plates.


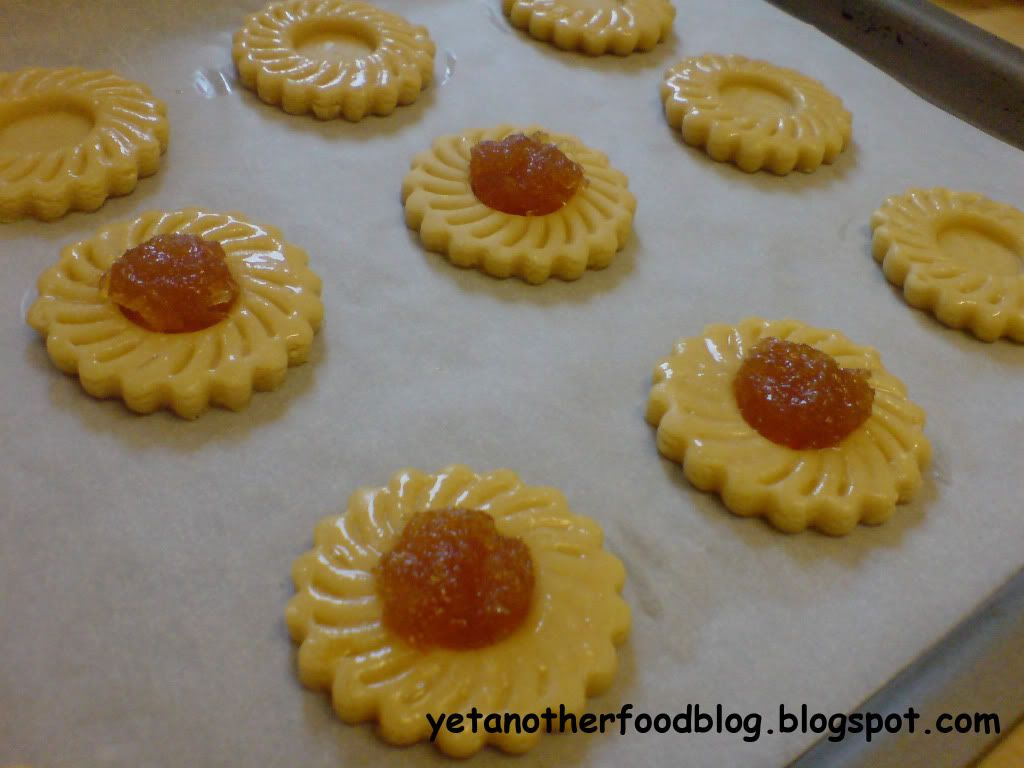
Unbaked Pineapple Tarts.


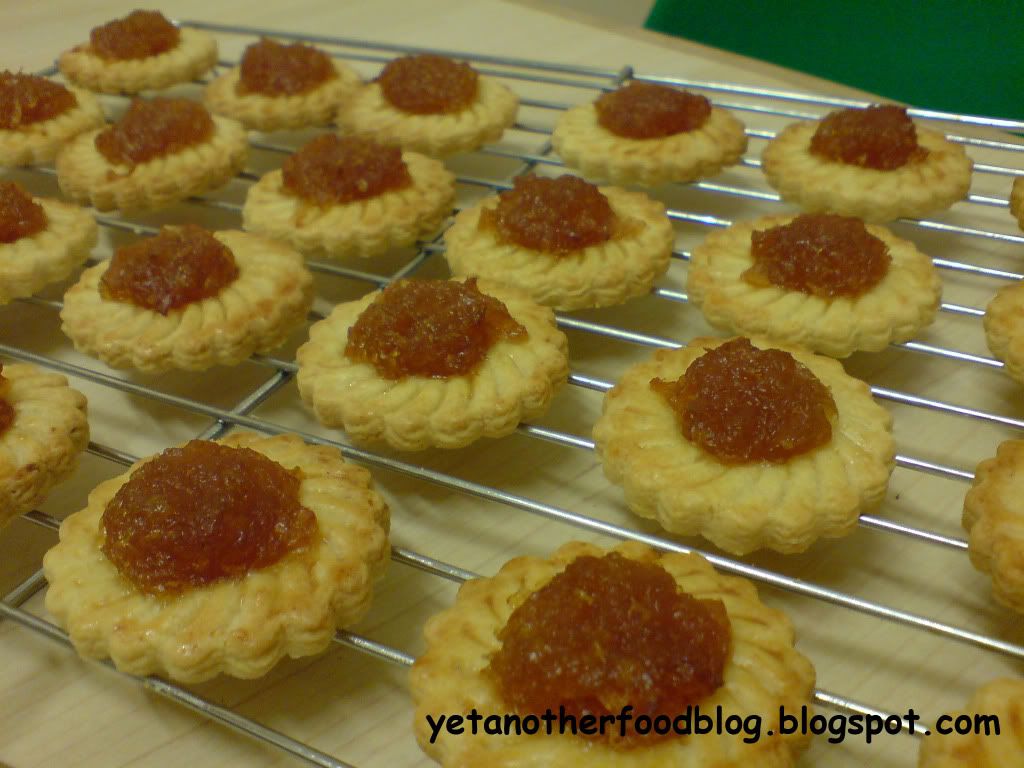
Baked Pineappe Tarts.


ONE HUNDRED AND NINETY SIX PINEAPPLE TARTS
(btw there are actually more these are the ones that weren't eaten during baking so there were probably around 220 in total.)


Pineapple Tarts in Boxes.


A parting photo of yes,
Pineapple Tarts.


Well, I did spend six hours making the Pineapple Jam so I guess it was only fair that I spent six hours making the Pineapple Tarts.
Phew!
I think I've had quite enough of pineapple tart making for this Chinese New Year.


Related posts:
Jam Tarts
Pineapple Jam


Tuesday, January 29, 2008

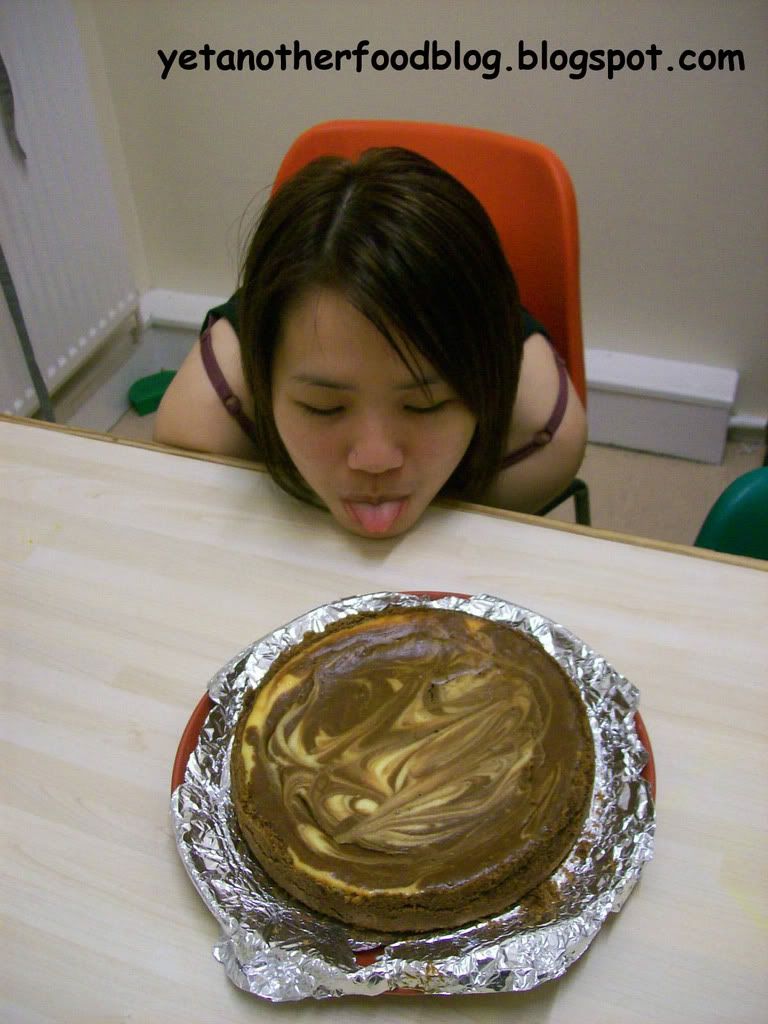
Monday Blahs.

In photo:
Insane Exhausted Blogger.


P.S. I think I have a really short tongue.


Monday, January 28, 2008

Jam Tarts

Tried a recipe for the cookie base before I used my precious pineapple jam.

It turned out pretty well so I shall deem it worthy of my tedious, time-comsuming, painstakingly, laborous,torturous lovingly made home-made jam.

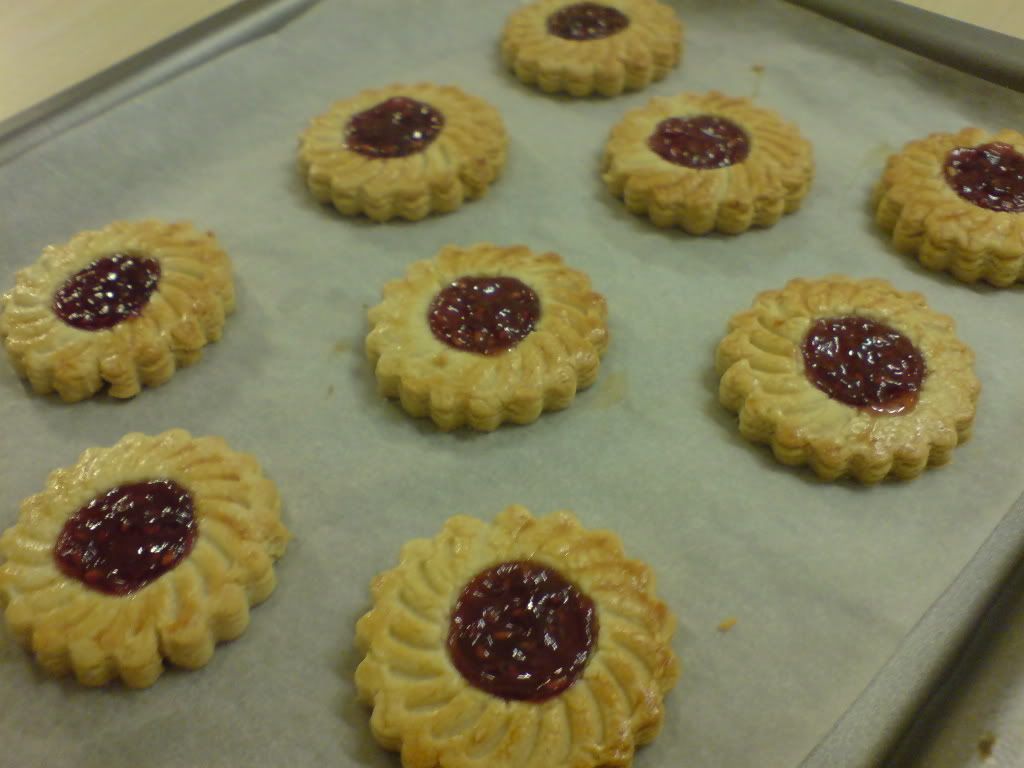
Raspberry-jam tarts.
Made with raspberry jam from a jar, of course.


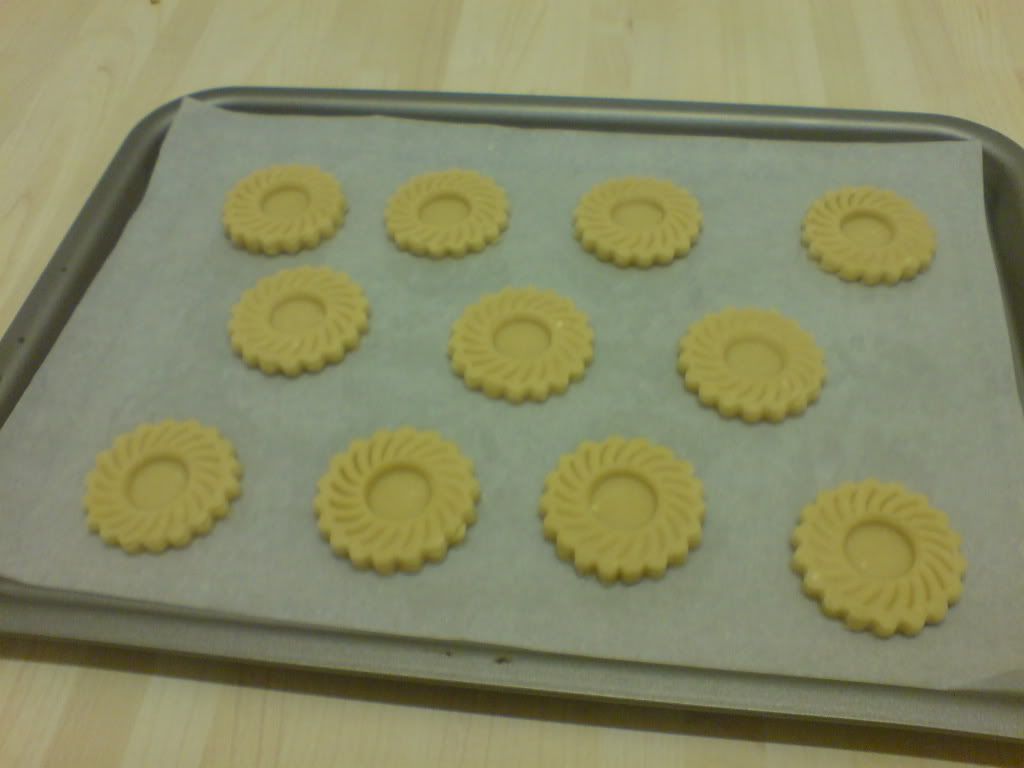
Neatly stamped out tart bases.


Jam Tart Recipe

Ingredients:
250g butter, softened
100g caster sugar
450g all-purpose flour
1 egg
30g milk powder
1 extra egg, beaten (for egg wash)

Directions:
1. Preheat oven to 170C. Line cookie trays with baking paper.
2. Cream butter, sugar and 1 egg. Add in sifted flour and milk powder, mix well to form a dough.
3. On a lightly floured surface, roll dough till about 1/2 centimetre thick. Using a mould, stamp out tart shapes.
4. Using a pastry brush, lightly brush all the exposed edges of the tart with the beaten egg. The egg wash will give the pastry it's golden, shiny surface.
5. Fill tarts with jam. Bake for 15 minutes or until pastry is a rich, golden brown.


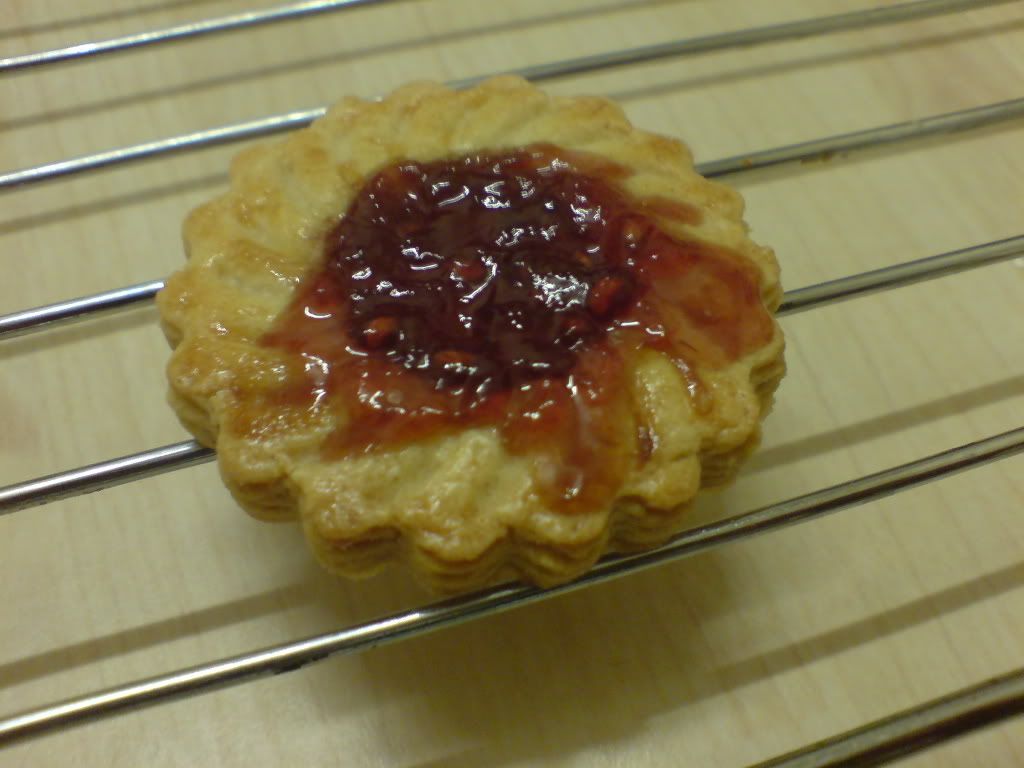
Important: when using watery jam, remember not to over fill the tarts.
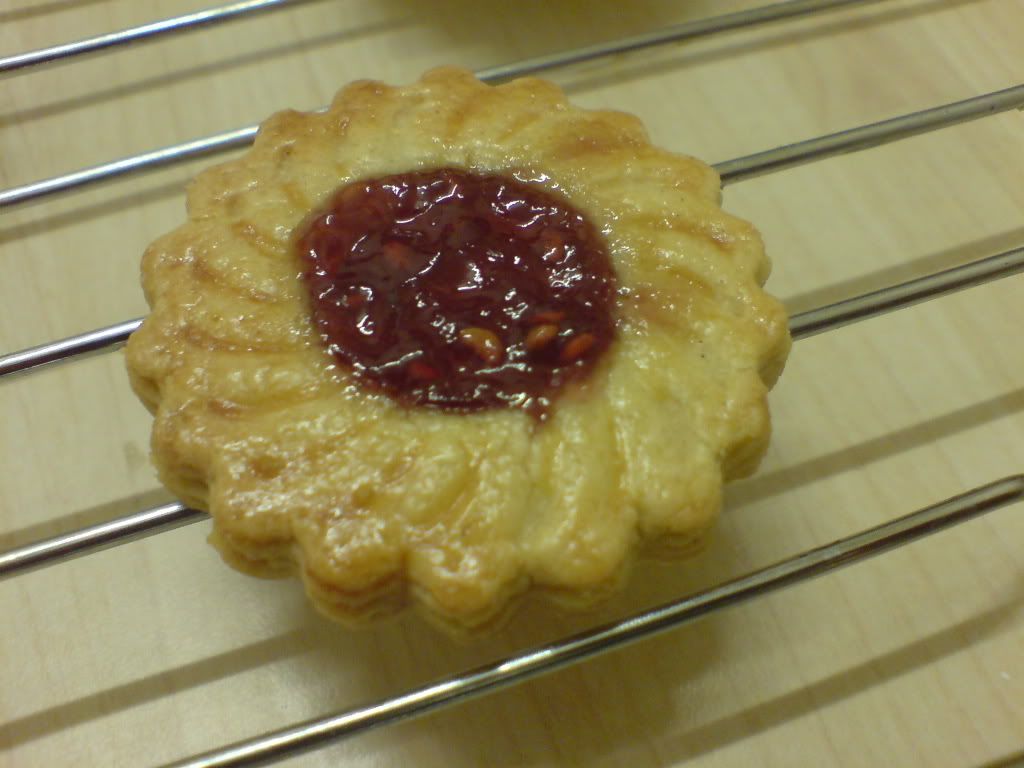
A jam tart should look like this.


And not like this.


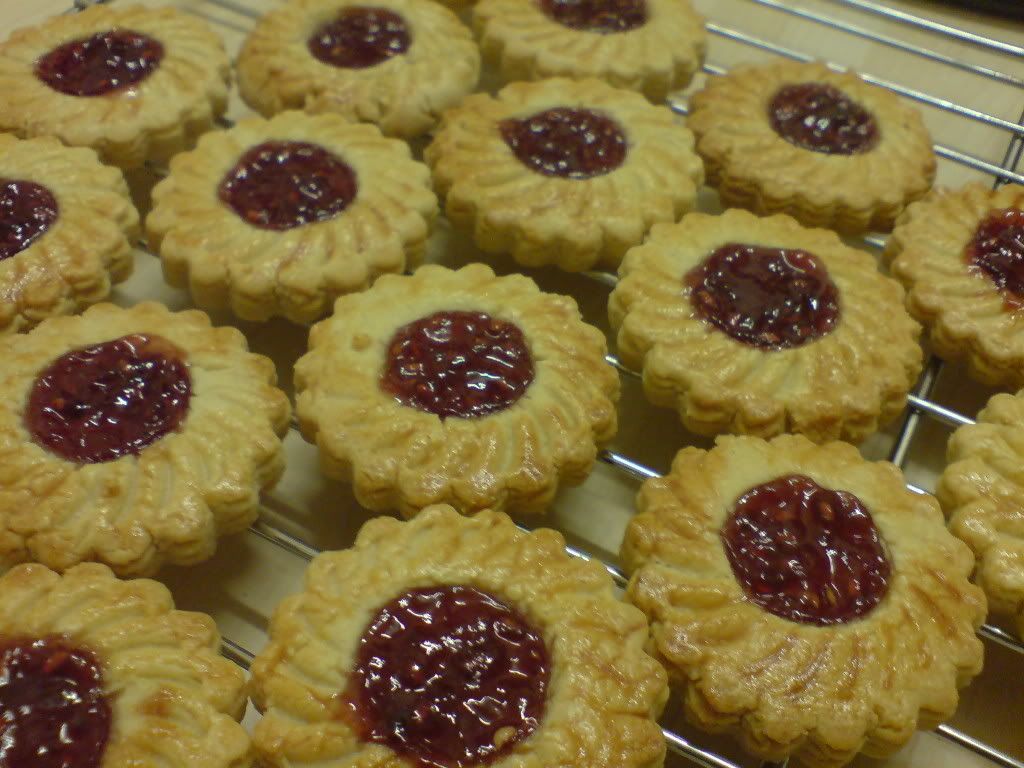
Pretty jam tarts in rows.


Related posts:
Home-made Pineapple Jam

Saturday, January 26, 2008

Generation Gap - Part 1.

My wise, old, experienced, all-knowing grandmamma bakes from the heart.

Me, I need measurements. I need the measurements!!!!
Grams, cups, spoons, something!

I've decided that since I'm stuck here in the UK for Chinse New Year (for the last year, hopefully) I'd try to make some of my grandmother's cookies and get a taste of home. So I called her for her recipes.


Me: Er, Amah can give me some Chiniese New Year cookie recipes?
Amah: Can.. What you want to make? You sure you want to make, will take a lot of time.
Me: Uhm, try only la. Can tell me how to make kueh bangkit? (for the less informed, they're the yummy, white, melt-in-your mouth, coconutty thingys)
Amah: You need tapioca flour, can get anot.
Me: I think can la. (which actually I can't so that plan's scrapped for now)
How much flour?
Amah: 5 katis.
Me: Errrr... what's a kati? (when was the last time anyone used katis?!!!?)
Amah: 600 grams.
Me: Oh.

.....

Amah: So like 3 kgs flour.
Me: *thinks with that amount, I can open my own small scale industry*
Errrr, okay.


To Be Continued.
Along with my other CNY cookie escapades.

Friday, January 25, 2008

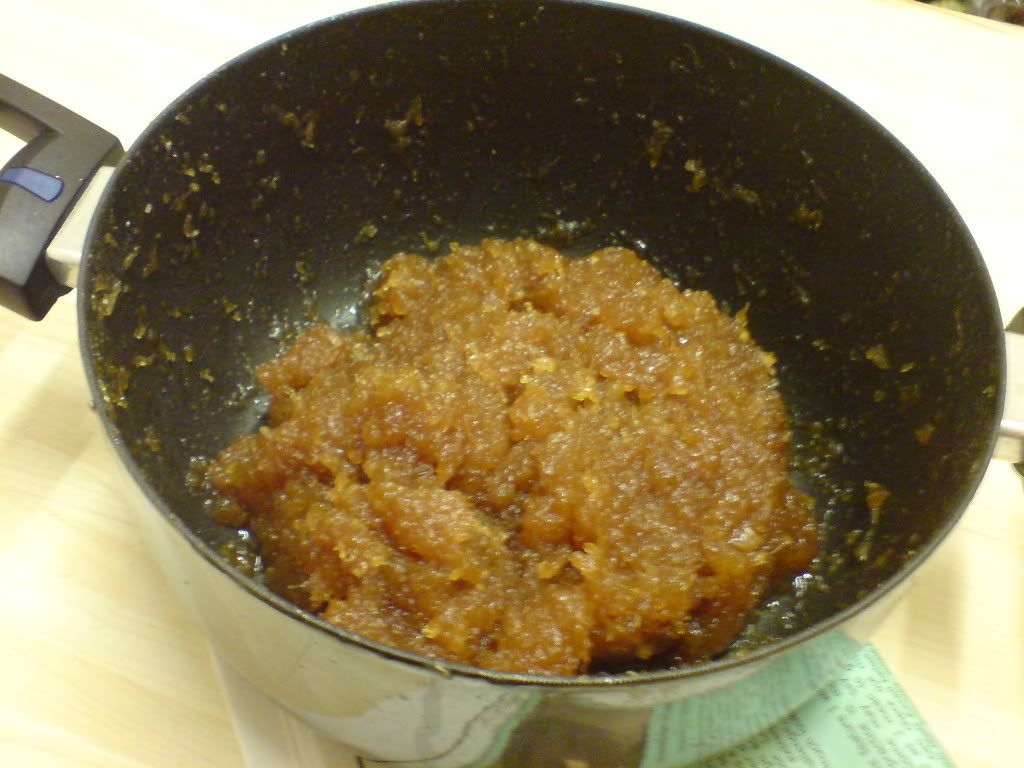
SIX hours...

To get from this,


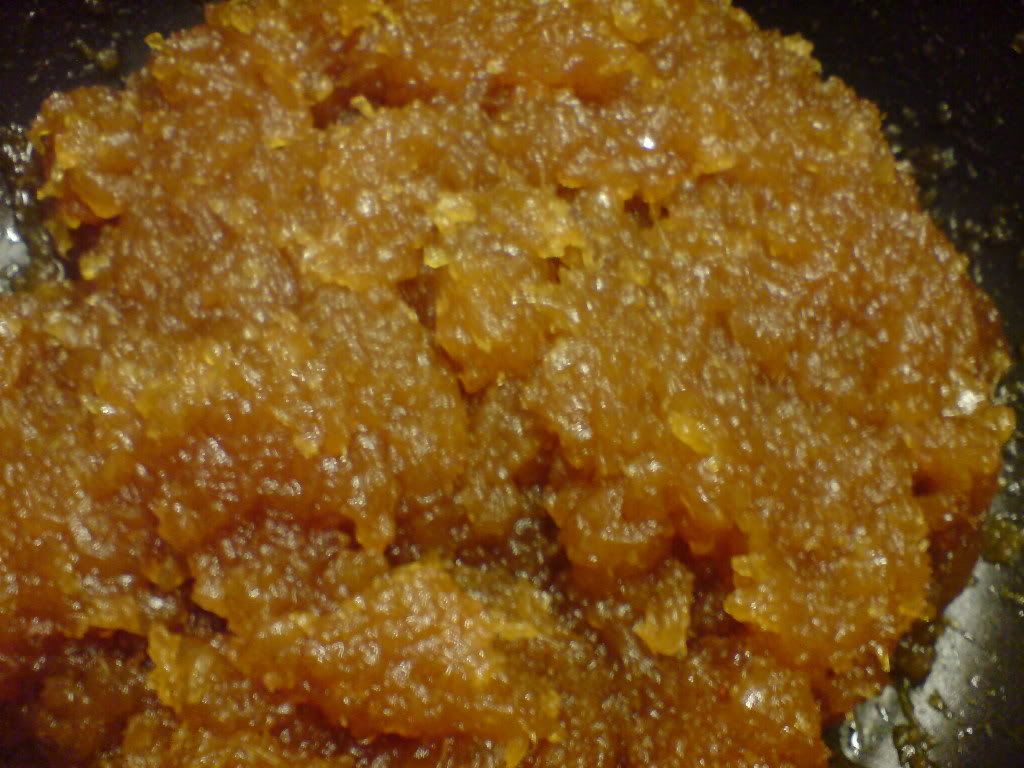
To this.


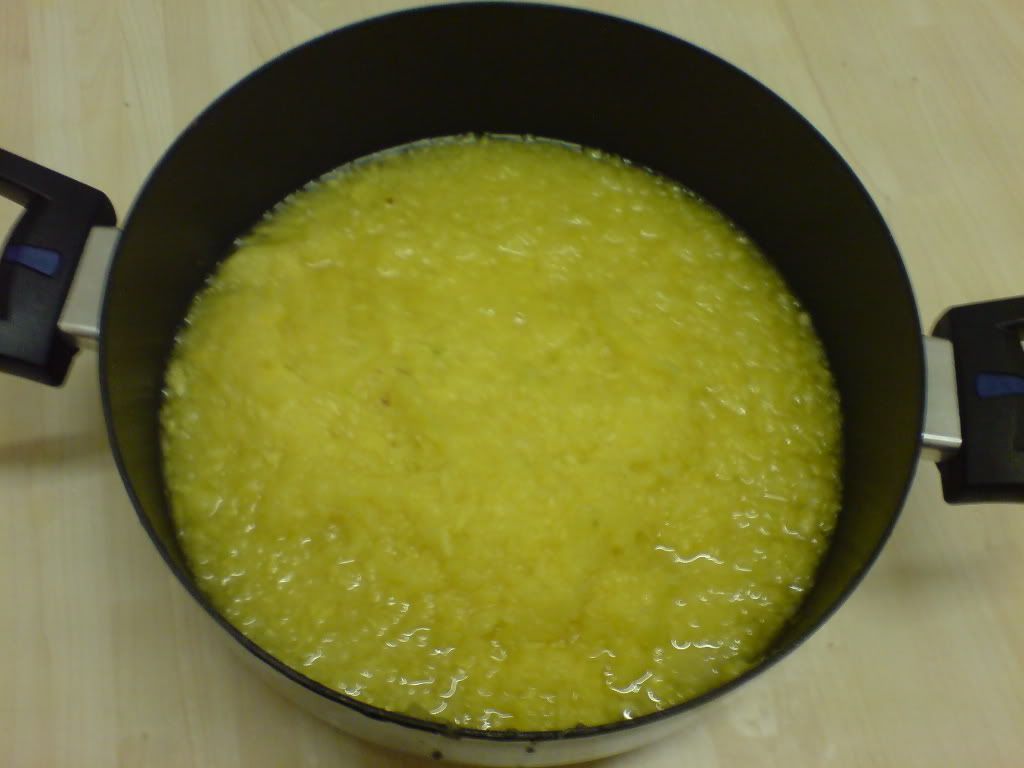
Pineapple Jam.


Pineapple Jam.


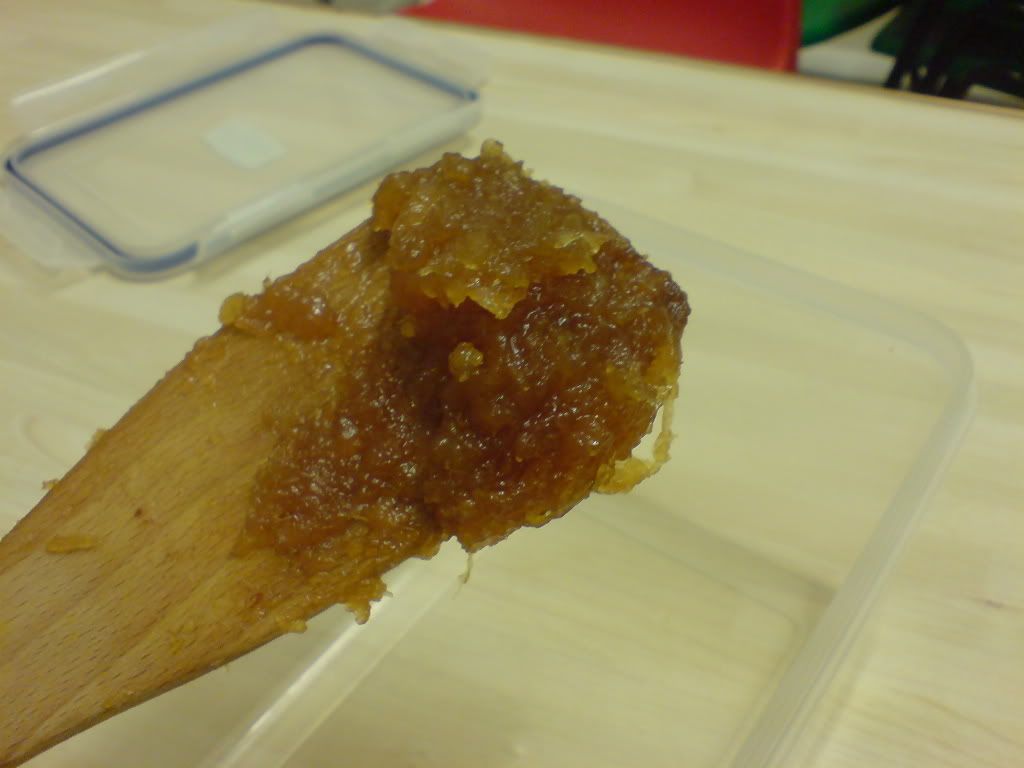
Pineapple Jam.


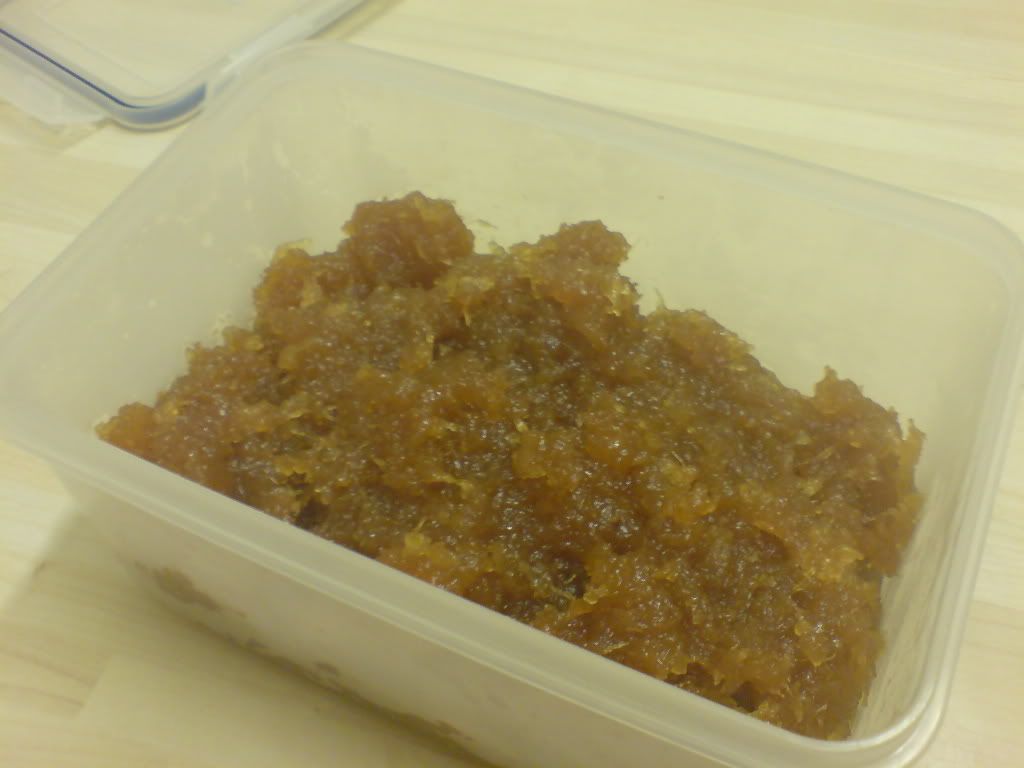
Yes, I am aware that it's photos of the same thing over and over again. For all the effort (and TIME) I put in, the pineapple jam deserves that much attention.

Peel, Chop, Grate, Grate.
Stir, wait, stir, wait, stir, wait, sir wait.
Stir, stir stir stir stir.
Sheesh.


Up next:
Pineapple Jam Tarts.
(if I don't eat all the jam, it turned out really, really good)

Monday, January 21, 2008

Mocha Marbled Cheesecake

Coffee. Cheese. Chocolate. Mmm.
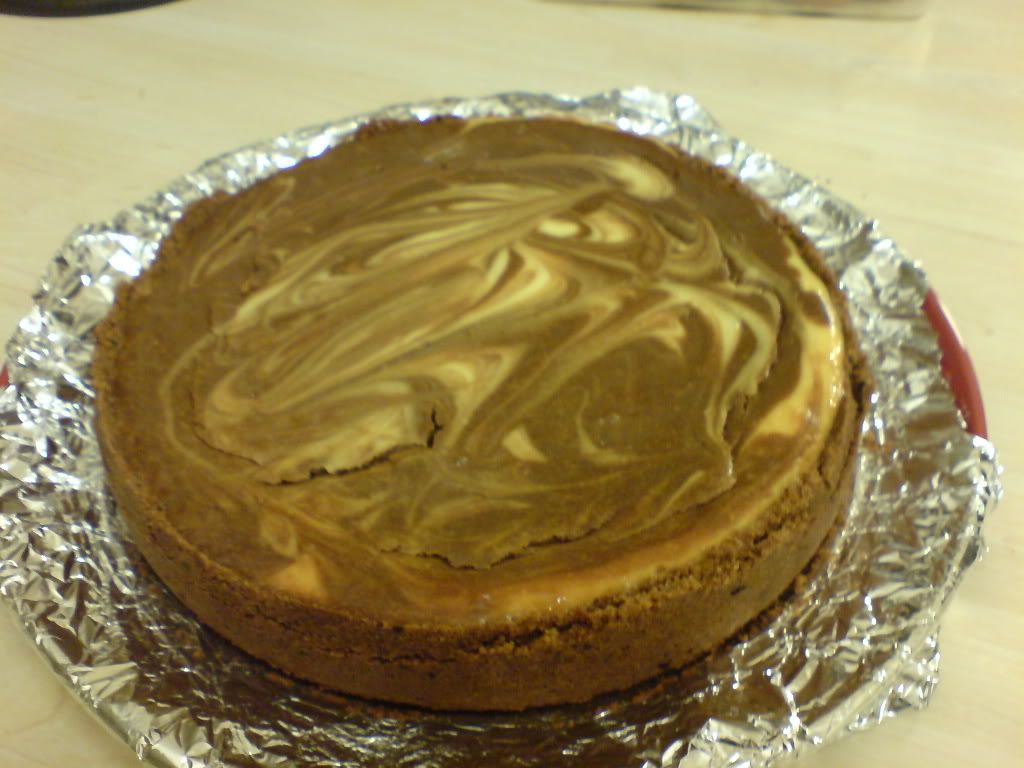
Mocha digestive crust, creamy cheese marbled with mocha swirls.


Mocha Marbled Cheesecake Recipe

Ingredients:

Biscuit base:
100g butter, melted
16 digestive biscuits
1 teaspoon instant coffee powder
2 tablespoons cocoa powder

Cheese filling:

600g cream cheese
50g milk chocolate, melted
1 tsp instant coffee powder mixed with 1 tablespoon hot water
80g caster sugar
1 teaspoon vanilla
2 eggs

Directions:
1. Preheat oven to 180C/160 fan-forced. Make biscuit base by putting coffee powder, cocoa and digestives in a bag and crushing the biscuits into crumbs. Mix crumbs well in melted butter and press into the base of a 9-inch springform cake tin. Press the crumbs about halfway up the tin as well, creating sort of a bowl-like effect. This part is a bit tricky, you don't want the crust to be too thick, or too thin that it crumbles. Bake crust in the oven for about 8 minutes, take out and leave to cool.
2. Next, prepare the cream cheese by beating the cheese, vanilla and sugar till well mixed. Add in the eggs one at a time, mixing well after each addition. Remove about 2/3 cup of cheese mixture, and stir this together with the melted chocolate and coffee.
3. Pour the plain cheese into the cooled crust. Next, drop spoonfuls of the mocha cheese over the plain cheese, making sure not to cover the plain cheese completely. Gently swirl the mixture to create a marbled effect.
4. Tap the tin on a table gently to level out the cheese. Steam bake cake for about 1 hour at 160C/140C fan-forced. Leave cake to cool in oven, then remove from tin and chill in the fridge before serving.
Friday, January 18, 2008

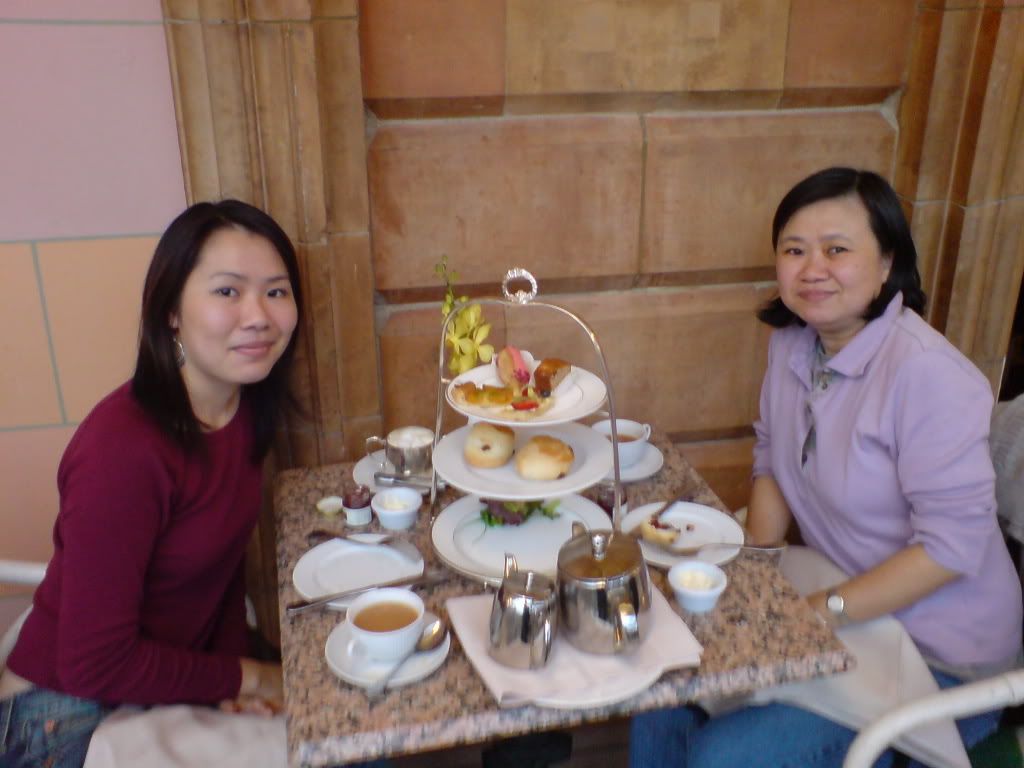
To the bestest Mummy in the world.

Afternoon tea at Harrods almost a year ago.


Wish I could be there to celebrate.
(and maybe bake you a cake!)
Hope papa took you somewhere nice for dinner.
I miss you loads.

Happy birthday mummy.

Love always,
Your daughter.

Thursday, January 17, 2008

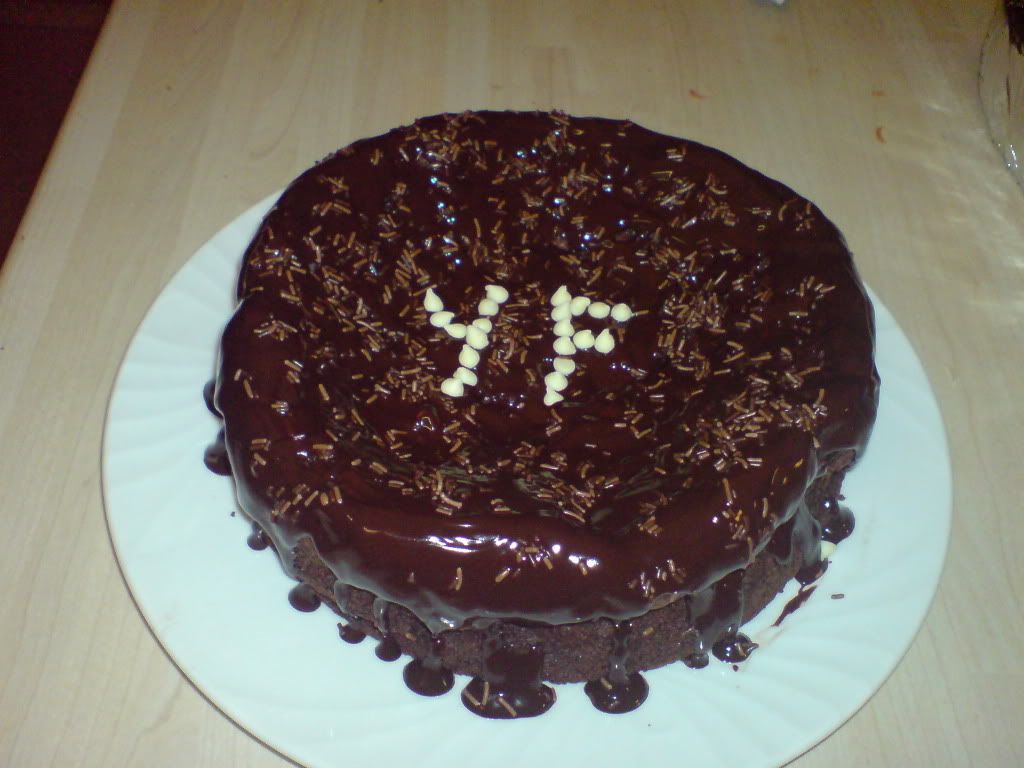
Happy (belated) Birthday Yau Fai!


To one of my favourite housemates/food tasters/guinea pigs/friends.

Being the oh-so-nice *cough* housemate that I am, I decided to drag my jetlagged self out of bed to bake a cake for Yau Fai's birthday dinner last Saturday.


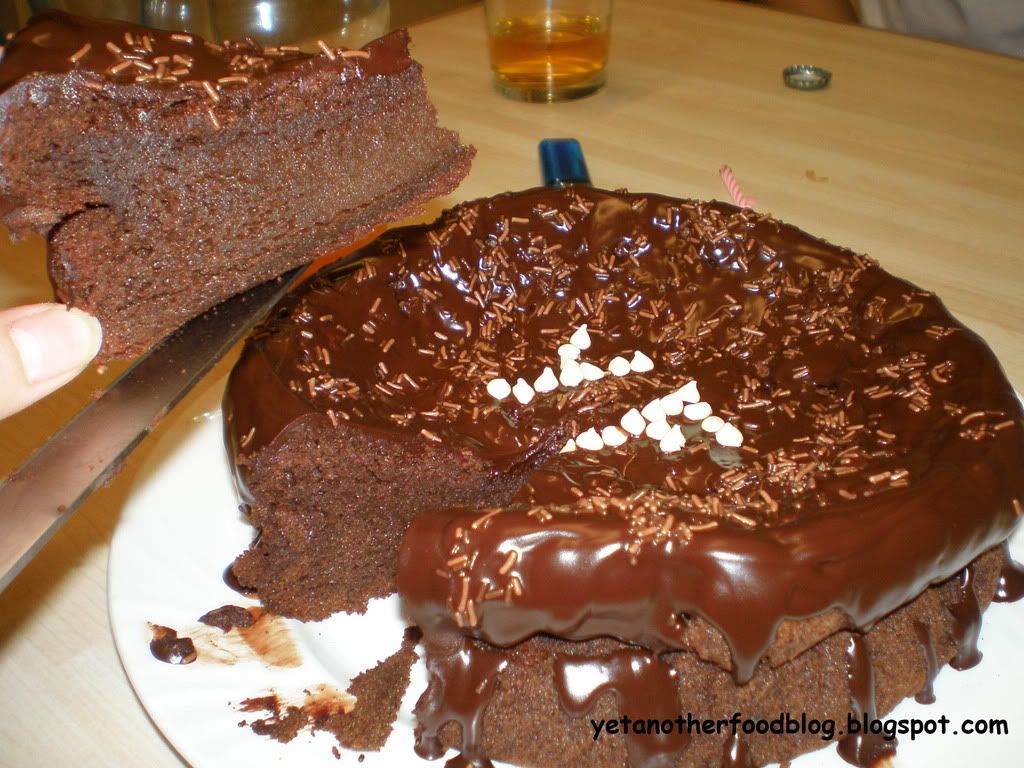
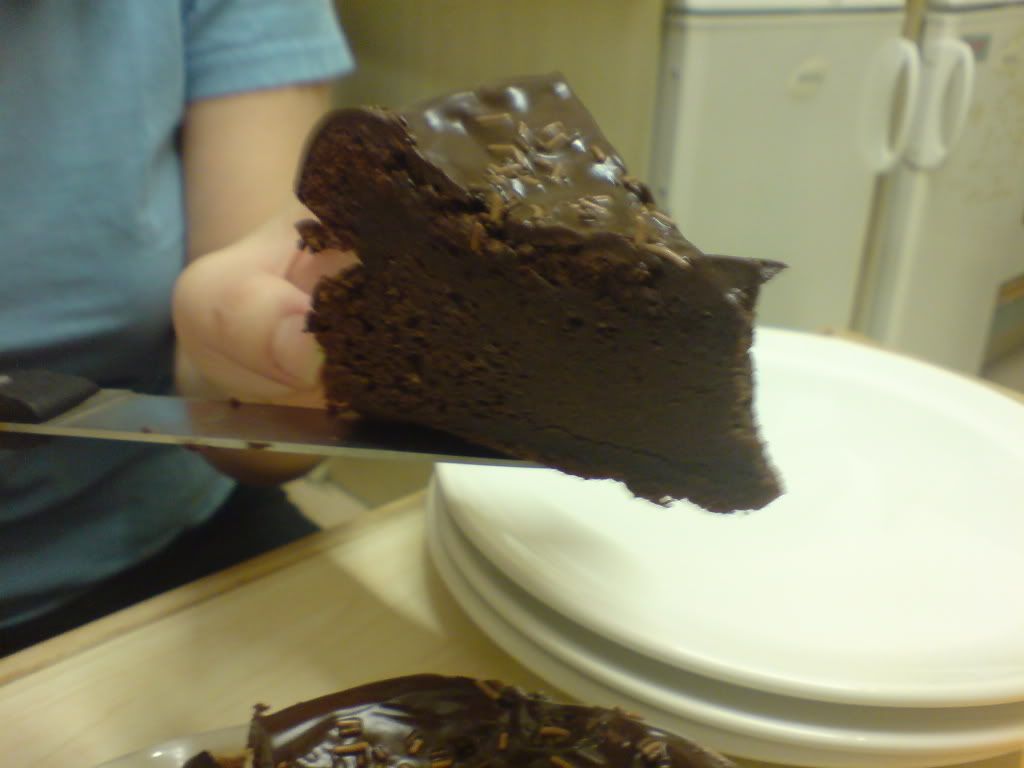
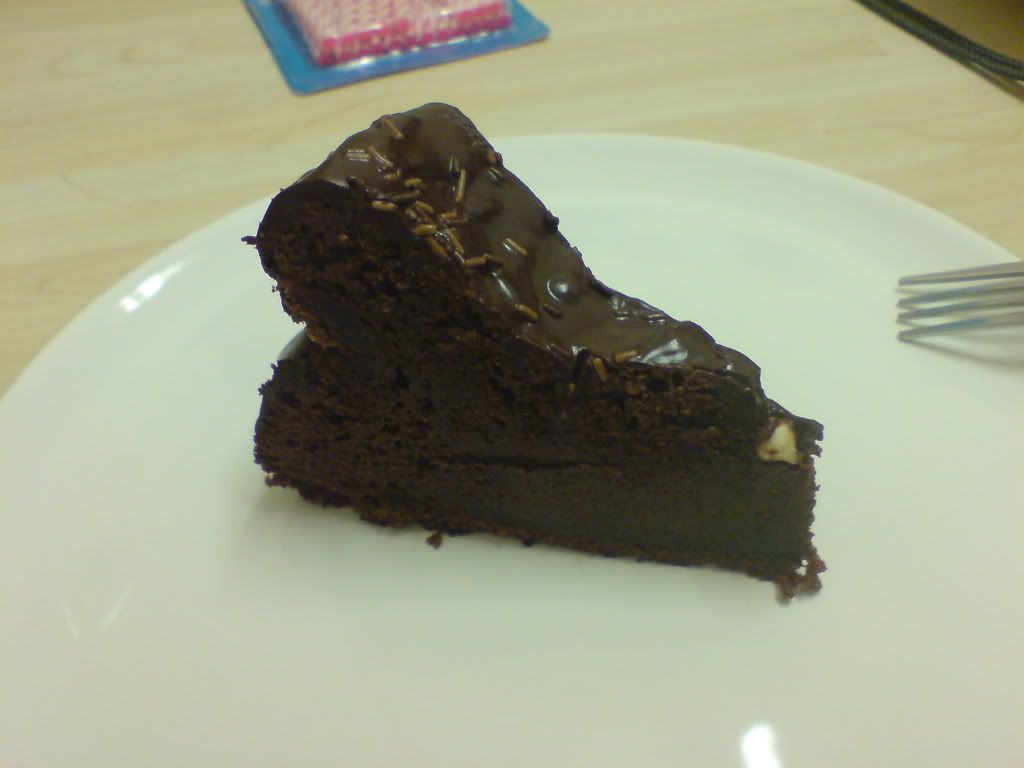
A simple, decadant, flourless chocolate cake, drizzled with melted dark chocolate.

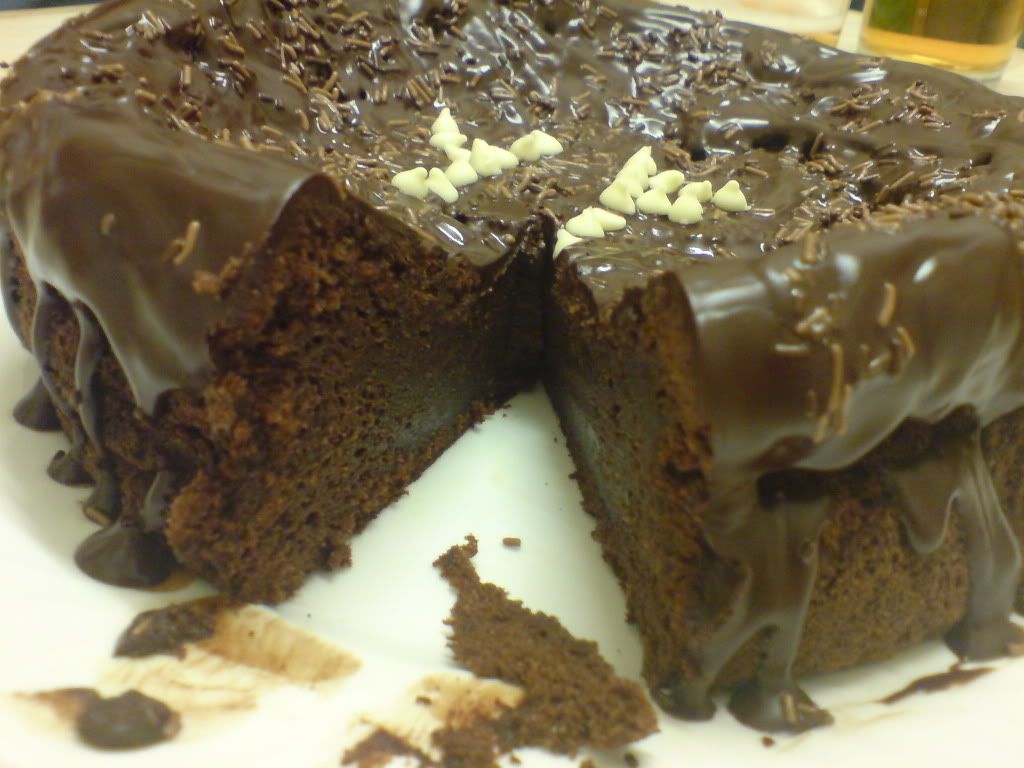
One of my other housemates aptly calls this a "Chocolate Volcano" since it looks like it has a crater in the centre, with chocolate oozing everywhere.


This flourless dark chocolate cake looks really rich, but it's acually light and kind of mousse-like. Even though the 5 of us were really stuffed after dinner, we still managed to wolf down half the cake.

Opinions were good all around. =)


Flourless Dark Chocolate "Volcano" Cake Recipe


Ingredients:
125g butter, cut into cubes
200g good quality dark chocolate, broken into pieces
7 large eggs, seperated
1 cup/200g caster sugar

Dark chocolate drizzle:
100g good quality dark chocolate, broken into pieces
25g butter


Directions:
1. Preheat oven to 180C/160C fan-forced. Grease and line a 23cm round cake tin.
2. Melt the butter and chocolate over a low heat, stirring occasionally. Leave to cool for about 10 minutes.
3. Beat the sugar and egg yolks in a bowl till mixture turns thick and pale in colour. Stir this mixture into the melted chocolate.
4. Whisk egg whites with an electric mixer till soft peaks form. Gently fold in half the egg whites into the chocolate-egg yolk mixture, add in the rest of the egg whites, gently fold everything together.
5. Pour batter into tin, bake for about 1 hour and 15 minutes. Cover the cake(still in the tin) with a damp cloth, and leave in the oven to cool. The center of the cake will sink considerably, so don't panic when it does.
6. When cake is cooled, make the dark chocolate drizzle by melting the chocolate and butter. Drizzle liberaly all over cooled cake and serve.